Removing window tint can indeed be a fantastic DIY job. Why? You don’t have to go window tint removal shop and spend money on this task. You can save your money and time. But why are we using a heat gun to remove window tint? – the weather may not be suitable for applying other methods. Moreover, the heat gun generates enough heat to melt tint glue quickly. And you can control temperature. So, let me start answering “how to remove window tint with a heat gun” elaborately.
Pre-Caution and Safety Tips
Heat gun produces a good amount of heat (on some models, you will get about 1200-degree Celsius). So, wear safety gloves. And also, wear safety goggles.
As the heat gun melts the tint glue quickly, you should not focus on anything while removing the window tint. Otherwise, the situation may get worse.
Tools and Materials we will need to remove window tint-
- Heat Gun
- Cotton Rags
- Paper towels
- Steel wool pads
- Razor blades
- Razor casing handle
- Adhesive/ glue remover
- Window cleaner
- Hand gloves
Steps you should follow to Remove Tint with a Heat Gun.
Step-1 Placing heat gun in the proper position.
Place your heat gun on the outside of the window and keep it 4 to 6 inches away from the window. Otherwise, this will overheat the window and can create an unwanted spot on the window glass.
And never heat the window from the inside as the heat gun produces enough heat to melt the tint glue and merge the tint with the glass. Sometimes the heat may burn the tint, which will make the situation worse.
Step-2 Start removing window tint.
When the tint is warm enough, start peeling off it from a corner. Pull up the tint slowly to avoid tearing the tint into small pieces. If you can pull out the whole tint without tearing it, your work will be more accessible. That’s why you should be patient enough while peeling.
In the time of peeling of the tint, heat the window alternatively to prevent settling back adhesive. This will also help you with the scrapping of the adhesive later.
Step-3 peel off small pieces of window tint.
It’s tough to remove the tint in whole at the first chance. So you will find some small pieces in the window glass.
To remove the small pieces of window tint, you can use a razor. You should place the razor in a way that the razor blade’s sharp-angled edge touches the window glass.
Step-4 Apply adhesive/glue remover.
Now, it’s time to remove the adhesive from the window glass. You need to use liquid adhesive remover in the window and cover the glass for 10 to 15 minutes before scraping off it.
Step-5 Scrape off the glue.
After waiting for several minutes, take the razor again start scraping off the tint adhesive. Then, take a wiper and wipe out the detached adhesive.
Use steel wool along with the razor until the adhesive is removed from the glass.
Step-6 Finishing
When you have completed the scraping job, give a finishing touch in the window. Take the window cleaner and rub it in the window with paper towels until your window looks shiny.
Conclusion
Okay, that’s all about removing the window tint with a heat gun. I hope this article will help you to do this job on your own.
Window tinting not only gives you privacy but also protects you from the UV rays of the sun. But a very old window will surely fade your car’s glow. So, it is better to change the window tint after 2 or 3 years. And if you go for window tint removal, it will cost 400$ or above it. So, removing tint by yourself will save a significant amount of money. 😀
And one more thing, I have some tools suggestions for you if you are removing window tint for the first time…
Tools Suggestion for removing window tint.
- Heat gun: You can pick up this heat gun “DEWALT Heat Gun (D26960K) with LCD Display “. The LCD will help you to manage temperature perfectly.
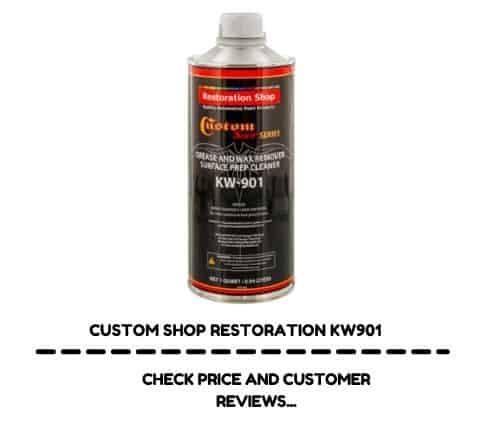
- And for adhesive remover, you can choose “Custom Shop Restoration Grease and wax Remover.“


hello, Your website helped me to choose the perfect tools and know about the tools briefly.
Thanks.